
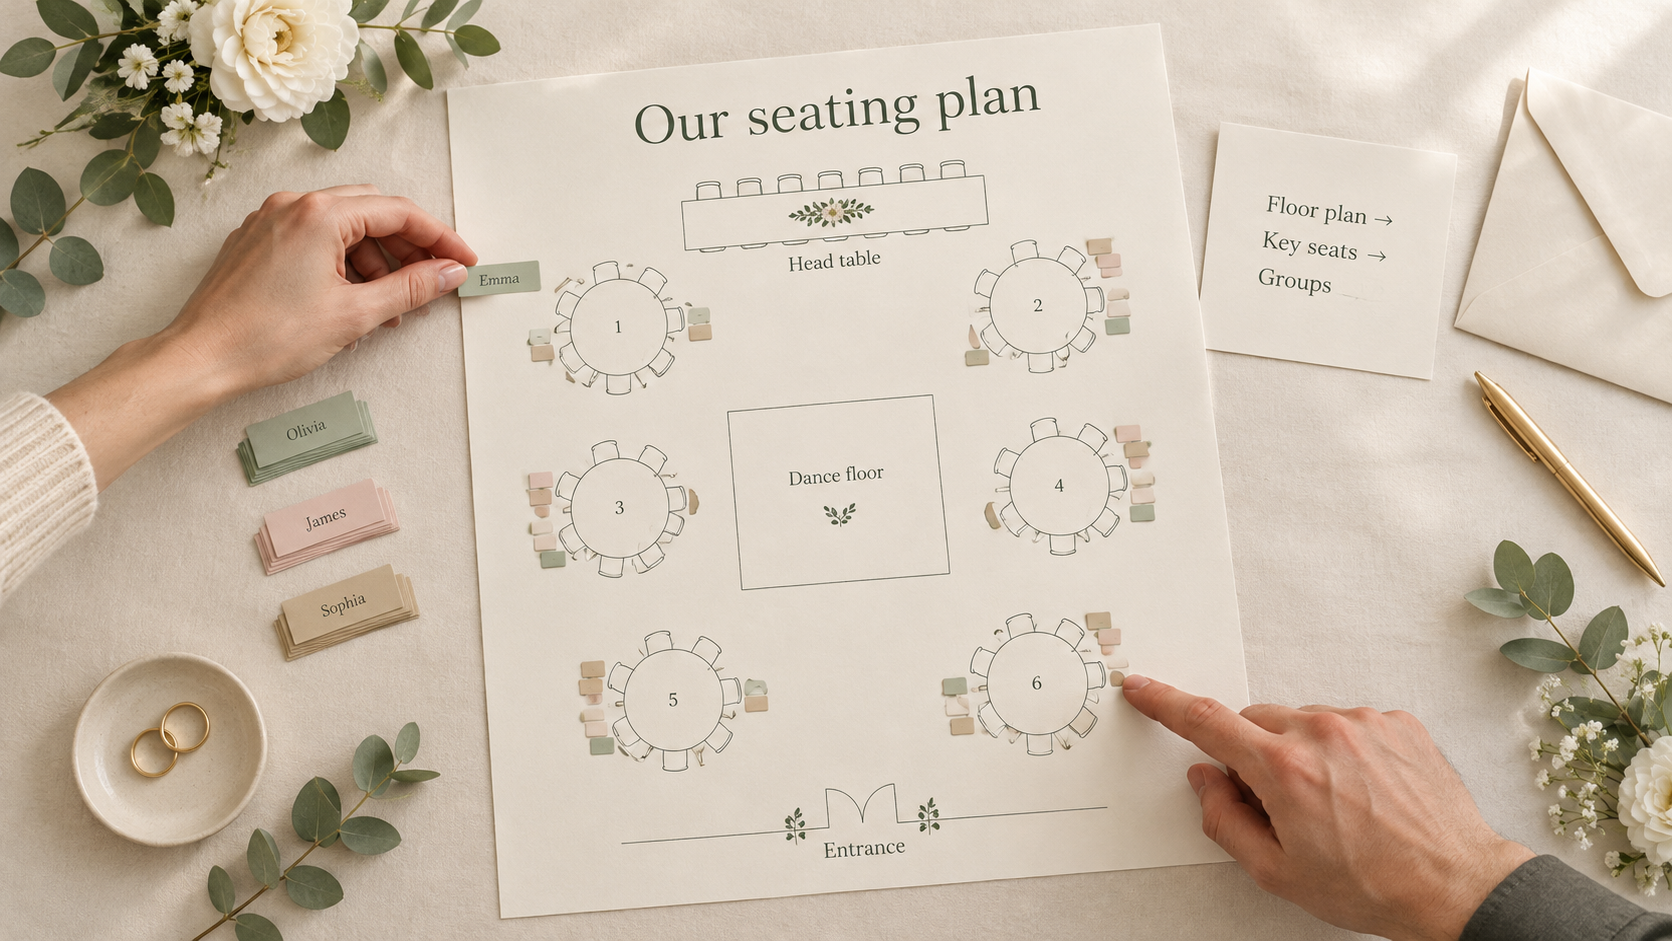
The seating chart has a reputation as the most stressful week of wedding planning. It does not have to be. Most of the stress comes from starting too early, starting with the wrong piece, or trying to solve every relationship at once.
Here is a practical order of work that gets you from a confirmed guest list to a printed chart without a night of sticky notes on the living-room floor.
When to start
Start the real chart after your RSVP deadline, once most answers are in. You can sketch the room earlier, but seating people who have not confirmed means doing the work twice.
Plan to finish about a week before your caterer's deadline for the final table plan, so there is time for last-minute changes.
Step 1: Get the floor plan right
Ask your venue for a floor plan with measurements, then mark:
the head table or sweetheart table;
the dance floor, stage or DJ;
the bar, buffet and cake table;
exits, washrooms and service doors;
any pillars or awkward corners.
Then choose your tables. Common sizes:
Round tables of 8 to 10, the most flexible for conversation.
Rectangular or banquet tables, which fit more people in a long room. Seats at the ends add capacity.
A long head table or a small sweetheart table for the couple.
Leave enough space between tables for chairs to be pulled out and for servers to pass. Your venue or caterer can tell you their minimum.
On Evermore and Planner, MapleVow's seating designer has scaled floor plans: enter the room's real measurements and place tables to size, so you can see whether the layout actually fits.
Step 2: Seat the anchors first
Place the people whose position is fixed before anyone else:
The couple at the head table or sweetheart table.
Parents and grandparents close to the couple, with a clear view of speeches.
Guests with accessibility needs near exits, washrooms and step-free paths, away from speakers.
The wedding party and their partners.
Everything else fits around these.
Step 3: Seat by group, then by table
Sort the rest of your guests into groups: university friends, work colleagues, cousins, neighbours, the hockey team. Then:
give each large group its own table or two;
combine small groups that will get along, such as two couples who share a hobby;
seat households together, and plus-ones next to the guest who invited them;
put families with young children near each other, and near an exit.
Guests who know nobody are best seated with people of a similar age or with something in common, not at the "leftovers" table.
Step 4: Handle the delicate cases with rules
Every wedding has a few: divorced parents, a family disagreement, an ex who is still a good friend. Rather than reworking the whole chart by hand each time, write simple rules:
Keep together: these two people must sit at the same table.
Keep apart: these two people must not share a table.
MapleVow's seating designer supports keep together and keep apart rules and warns you when a change breaks one, so you can move a table around without accidentally undoing a sensitive arrangement.
Step 5: Check the details
Before you print:
every confirmed guest has a seat, and nobody who declined does;
no table is over capacity;
meal choices and allergies are visible for the caterer;
children's seats, high chairs and accessible spots are marked;
names are spelled the way guests spell them.
Step 6: Share it with guests and vendors
You will usually need three versions:
For guests: an alphabetical list or a display chart at the entrance. With MapleVow's seat finder, guests can also look up their table on their phone.
For the caterer: table numbers with meal choices and allergies.
For the venue: the floor plan with table sizes and positions.
MapleVow exports the chart as a PNG image or a printable PDF, either on one page or as detailed tiled pages.
Frequently asked questions
Do we really need assigned seats?
For a plated dinner, yes: the caterer needs to know who gets which meal. For a buffet or cocktail reception, assigned tables (not seats) are usually enough.
Where should divorced parents sit?
At separate tables of equal distance and honour from the head table, each with their own family and friends. A keep-apart rule makes this easy to keep track of.
What do we do about last-minute cancellations?
Leave one or two seats of slack across the room and move a single guest rather than re-planning a whole table.
Make the last big task the easy one
A seating chart built in the right order, with anchors first, groups next and rules for the delicate cases, usually takes an evening, not a week. Keep it connected to your guest list and RSVPs, and late changes stay small. See our online seating chart to try it.